3DPrinting
3DPrinting is a place where makers of all skill levels and walks of life can learn about and discuss 3D printing and development of 3D printed parts and devices.
The r/functionalprint community is now located at: or !functionalprint@fedia.io
There are CAD communities available at: !cad@lemmy.world or !freecad@lemmy.ml
Rules
-
No bigotry - including racism, sexism, ableism, homophobia, transphobia, or xenophobia. Code of Conduct.
-
Be respectful, especially when disagreeing. Everyone should feel welcome here.
-
No porn (NSFW prints are acceptable but must be marked NSFW)
-
No Ads / Spamming / Guerrilla Marketing
-
Do not create links to reddit
-
If you see an issue please flag it
-
No guns
-
No injury gore posts
If you need an easy way to host pictures, https://catbox.moe/ may be an option. Be ethical about what you post and donate if you are able or use this a lot. It is just an individual hosting content, not a company. The image embedding syntax for Lemmy is 
Moderation policy: Light, mostly invisible
view the rest of the comments

Great comments, but Id like to add bit more.
Start with calibration if you havent already:
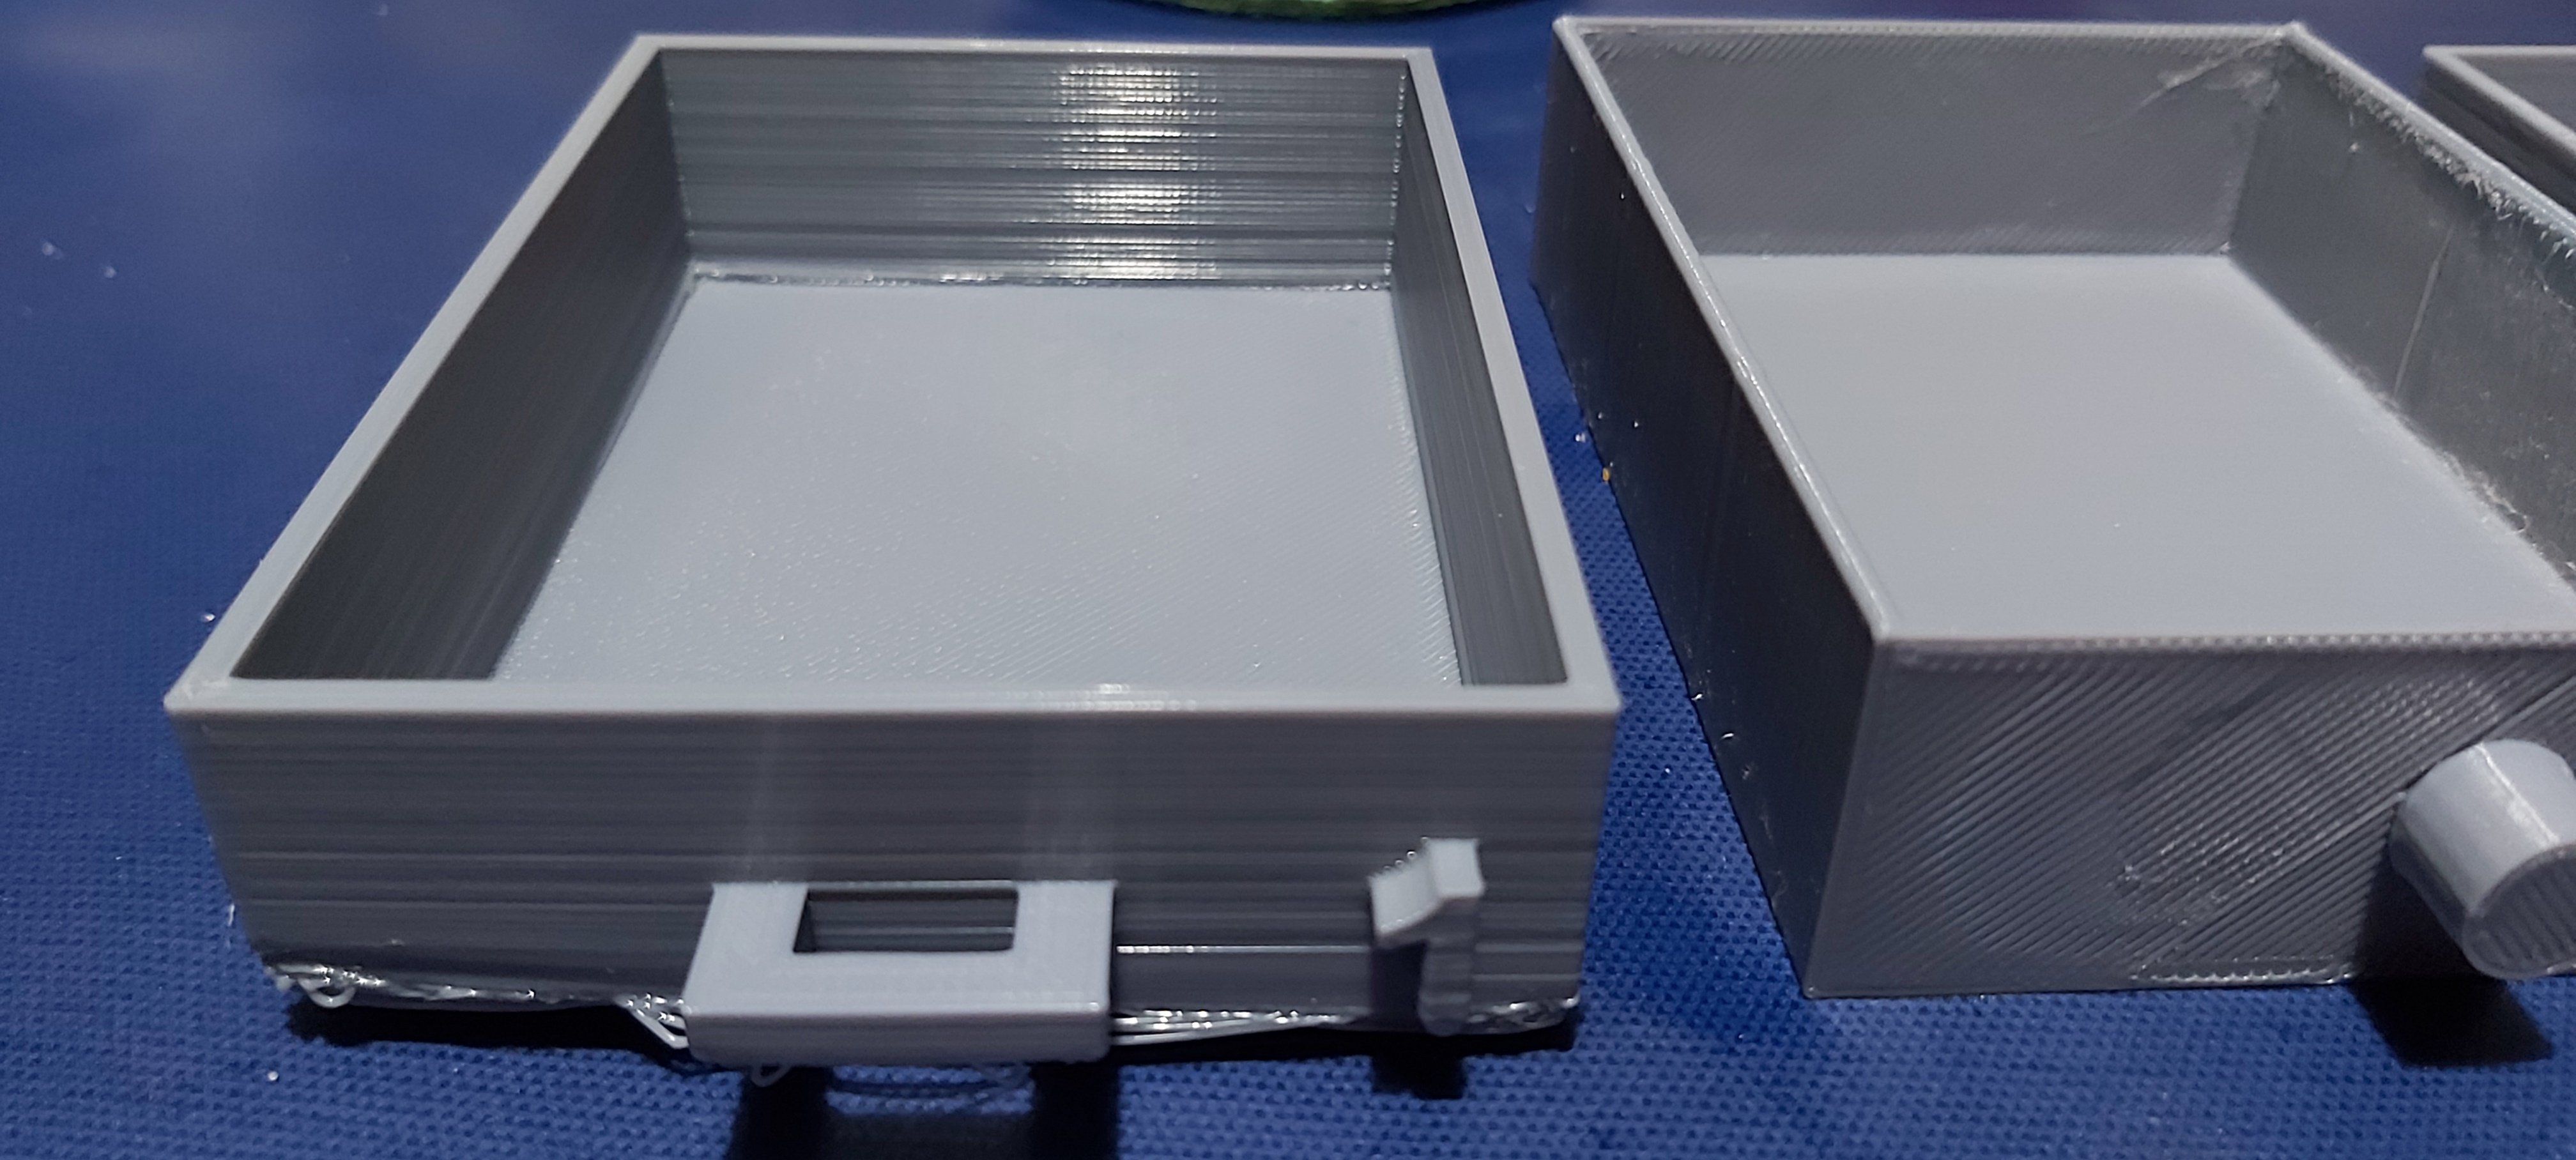
On top of that, you want to improve 1st layer adhesion to avoid lifting:
Use glue or hairspray if nothing else helps, or consider better build plate like PEI or even better quality filament
I recommend using mineral spirits. It's the only thing that has improved bed adhesion. WITH THE HEAT OFF! I don't know that mineral spirit vapors are bad, but they're definitely not good...
I've got some odd spots in the middle of the bed where it's not always printing a neat line in the first layer which is odd. Unsure if it's due to not being clean or a levelling issue but I'll investigate. Thanks for the thorough checklist of things to do though - really helpful!
It can be both. To exclude bent X axis or bed, I think its best to get nozzle close to the bed, then observe the gap while moving head in XY. Light can help with good angle as well as getting your eye close to the nozzle 👁️